Two old guys. I cannot thank this fella enough !
Sunday, 12 April 2015
Saturday, 11 April 2015
Damp proof membrane and insulation.
We used the thickest grade DPM we could buy and taped the joints with special tape.
100mm jablite insulation. Taped joints and taped to the DPM at the sides to prevent the concrete getting under the insulation, If it did the sheets of jablite would start to float :-/
Tricky joints where we built the wall to bear the staircase. The short wall has a footing of 12 inches of limestone and 6 inches of concrete. the wall is built on extra wide DPM so we could tape the floor DPM to it.
100mm jablite insulation. Taped joints and taped to the DPM at the sides to prevent the concrete getting under the insulation, If it did the sheets of jablite would start to float :-/
Tricky joints where we built the wall to bear the staircase. The short wall has a footing of 12 inches of limestone and 6 inches of concrete. the wall is built on extra wide DPM so we could tape the floor DPM to it.
Filling in the void.(Pictures in no particular order)
Removing the old suspended rotten floor
Most of the floor joists had wet rot. There was some woodworm too. We treated the walls to kill off any remaining.
No sleeper wall just a pillar of bricks on to earth.
Going to keep the original Front door.
Keeping the Front Door
I got rid of all the old paint though and gave it some undercoat to last the winter.
Thursday, 23 October 2014
Opening out the chimney breast in the kitchen.
The plan was to open this out to make a false fireplace. Which would leave room for kitchen units.
After removing the plaster a nice brick arch was revealed. Which as the mortar joints were weak we replaced with a reinforced concrete lintel.
In the opening was 100 years of soot and rubble.
Complete with half of the back boiler and 100 pounds of lead piping
The right hand side was built up to narrow the opening for the original coal fire range.
The finished opening with the concrete lintel and a heavy gauge angle steel beam to provide support to the internal brickwork which didn't really need it as it was bonded in front and back which a huge piece of York stone. I dug out a course of bricks filled in with hardcore and blinded with sand and laid 2 inches of concrete in the heath area.
The soot box door was filled in.
The inspection soot box door filled in.
Just a few bricks to trim off with the Stihl saw...fit a register plate... damp proof the bottom course and rendering up to do. After all this work we said "All this for a cupboard"
Damp and Damp Proofing
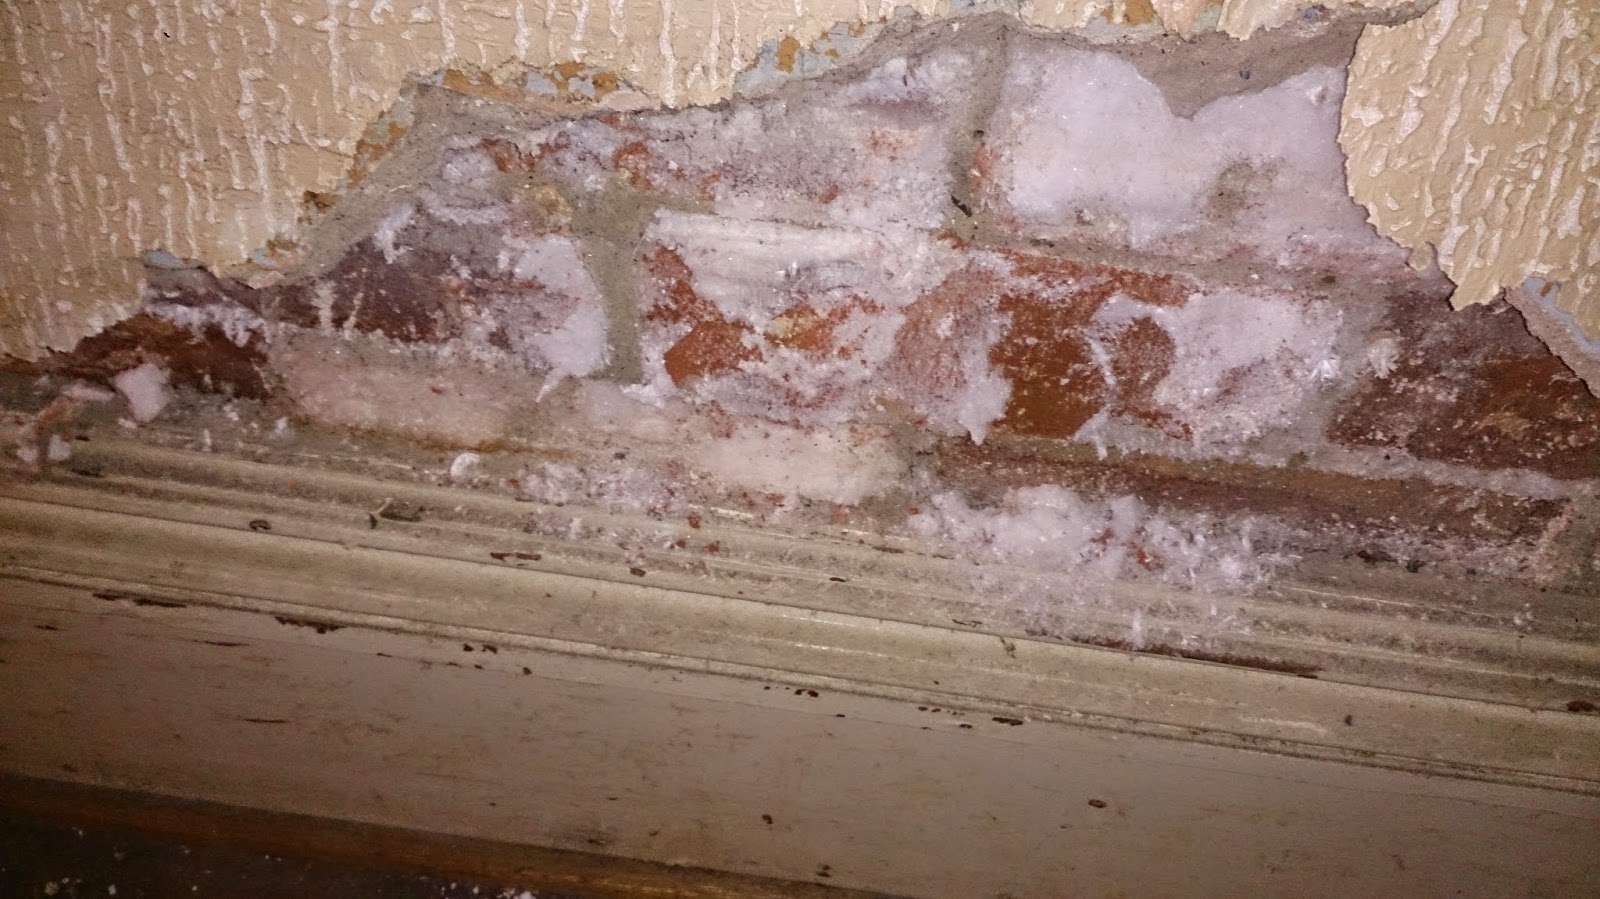
Salt brought up by rising damp. Any one who say rising damp doesn't exist LOOK !
The entrance hall floor had soaked up damp over 100 years as the in fill for the solid floor was slag and ash from a local iron works when the house was built. The worse affected walls all bordered on to the solid hallway floor.
Unfortunately the original Victorian Minton tiles had to be lifted. I saved as many as I could but quite a few got broken in the process.
We dug down 10 inches to remove the ash and slag. Then put a concrete footing in for the staircase on which we built a support wall consisting of engineering bricks (which included a physical damp proof course). The staircase had lifted 1/2 an inch as the sub floor infill had swollen over years, it relaxed back when we dug out the floor but will always be out of true somewhat. We removed the plaster to a height of one meter on all walls
All the walls were drilled and injected with Dryzone Cream according to manufacturers requirements.
The solid floor removal, plaster removal and damp proofing has been hard but satisfying work.
| Add caption |
The entrance hall floor had soaked up damp over 100 years as the in fill for the solid floor was slag and ash from a local iron works when the house was built. The worse affected walls all bordered on to the solid hallway floor.
Unfortunately the original Victorian Minton tiles had to be lifted. I saved as many as I could but quite a few got broken in the process.
We dug down 10 inches to remove the ash and slag. Then put a concrete footing in for the staircase on which we built a support wall consisting of engineering bricks (which included a physical damp proof course). The staircase had lifted 1/2 an inch as the sub floor infill had swollen over years, it relaxed back when we dug out the floor but will always be out of true somewhat. We removed the plaster to a height of one meter on all walls
All the walls were drilled and injected with Dryzone Cream according to manufacturers requirements.
The solid floor removal, plaster removal and damp proofing has been hard but satisfying work.
Subscribe to:
Posts (Atom)